Remember to tag us @GiveBloodNHS
and use the hashtag #DonorPumpkin
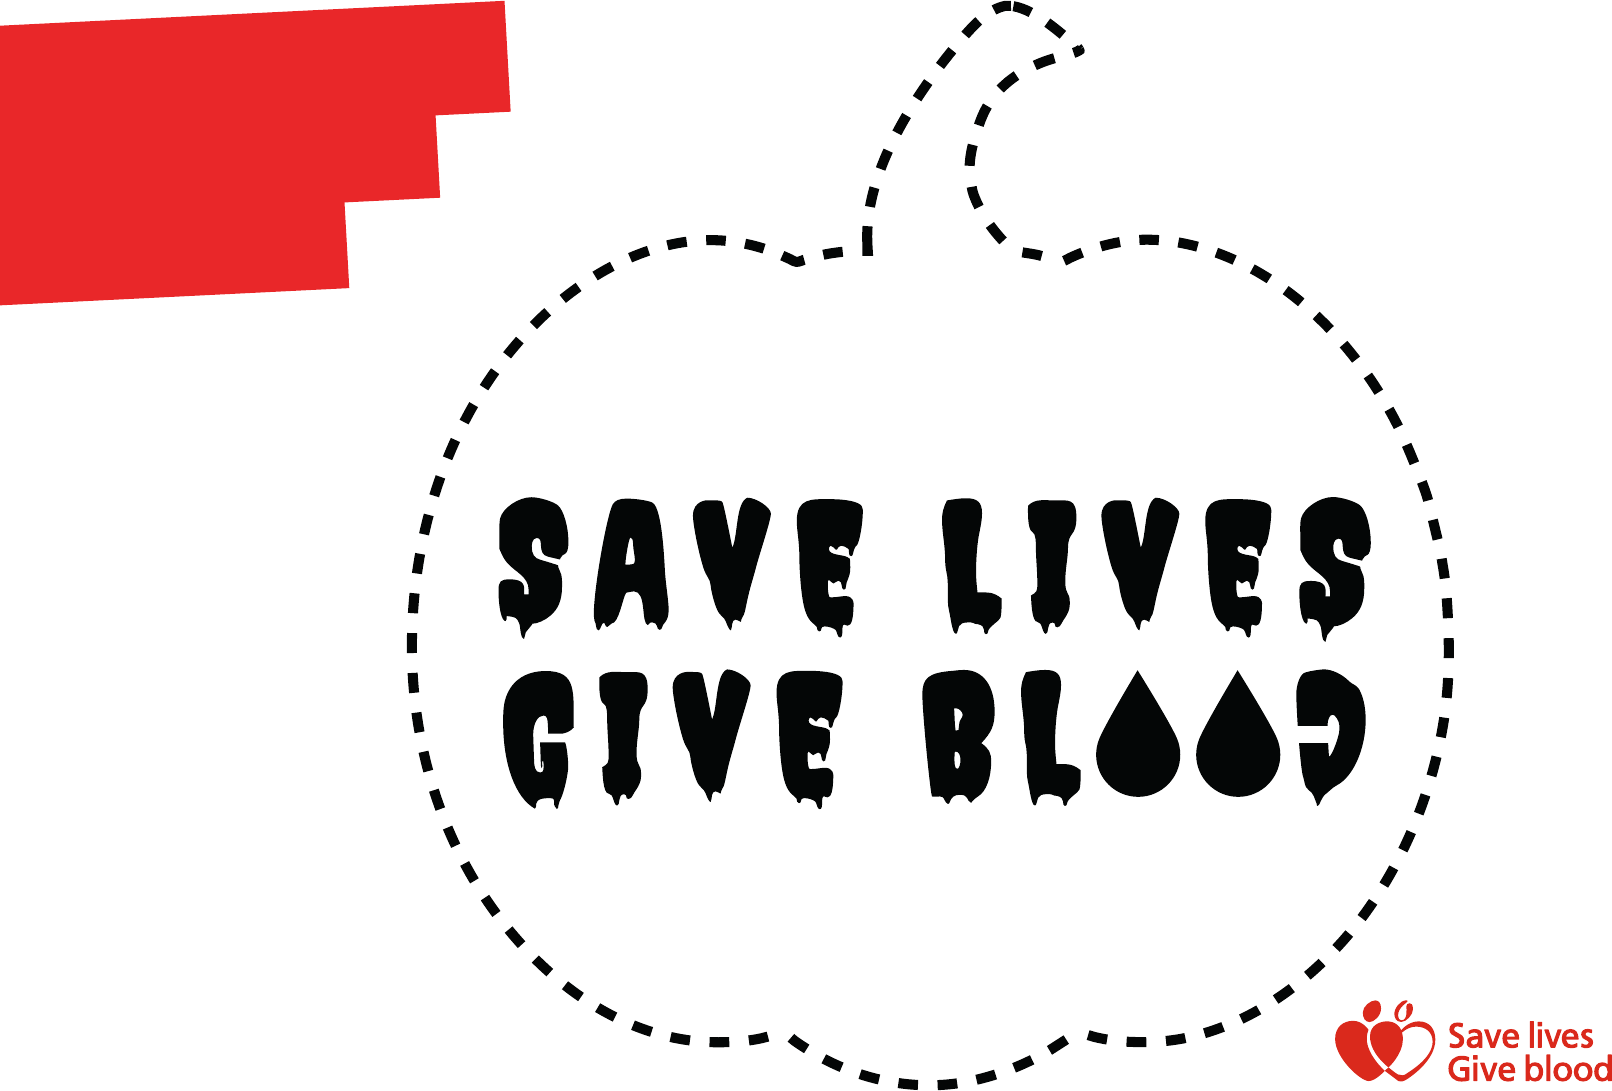
Halloween
pumpkin
stencil
Remember to tag us @GiveBloodNHS
and use the hashtag #DonorPumpkin
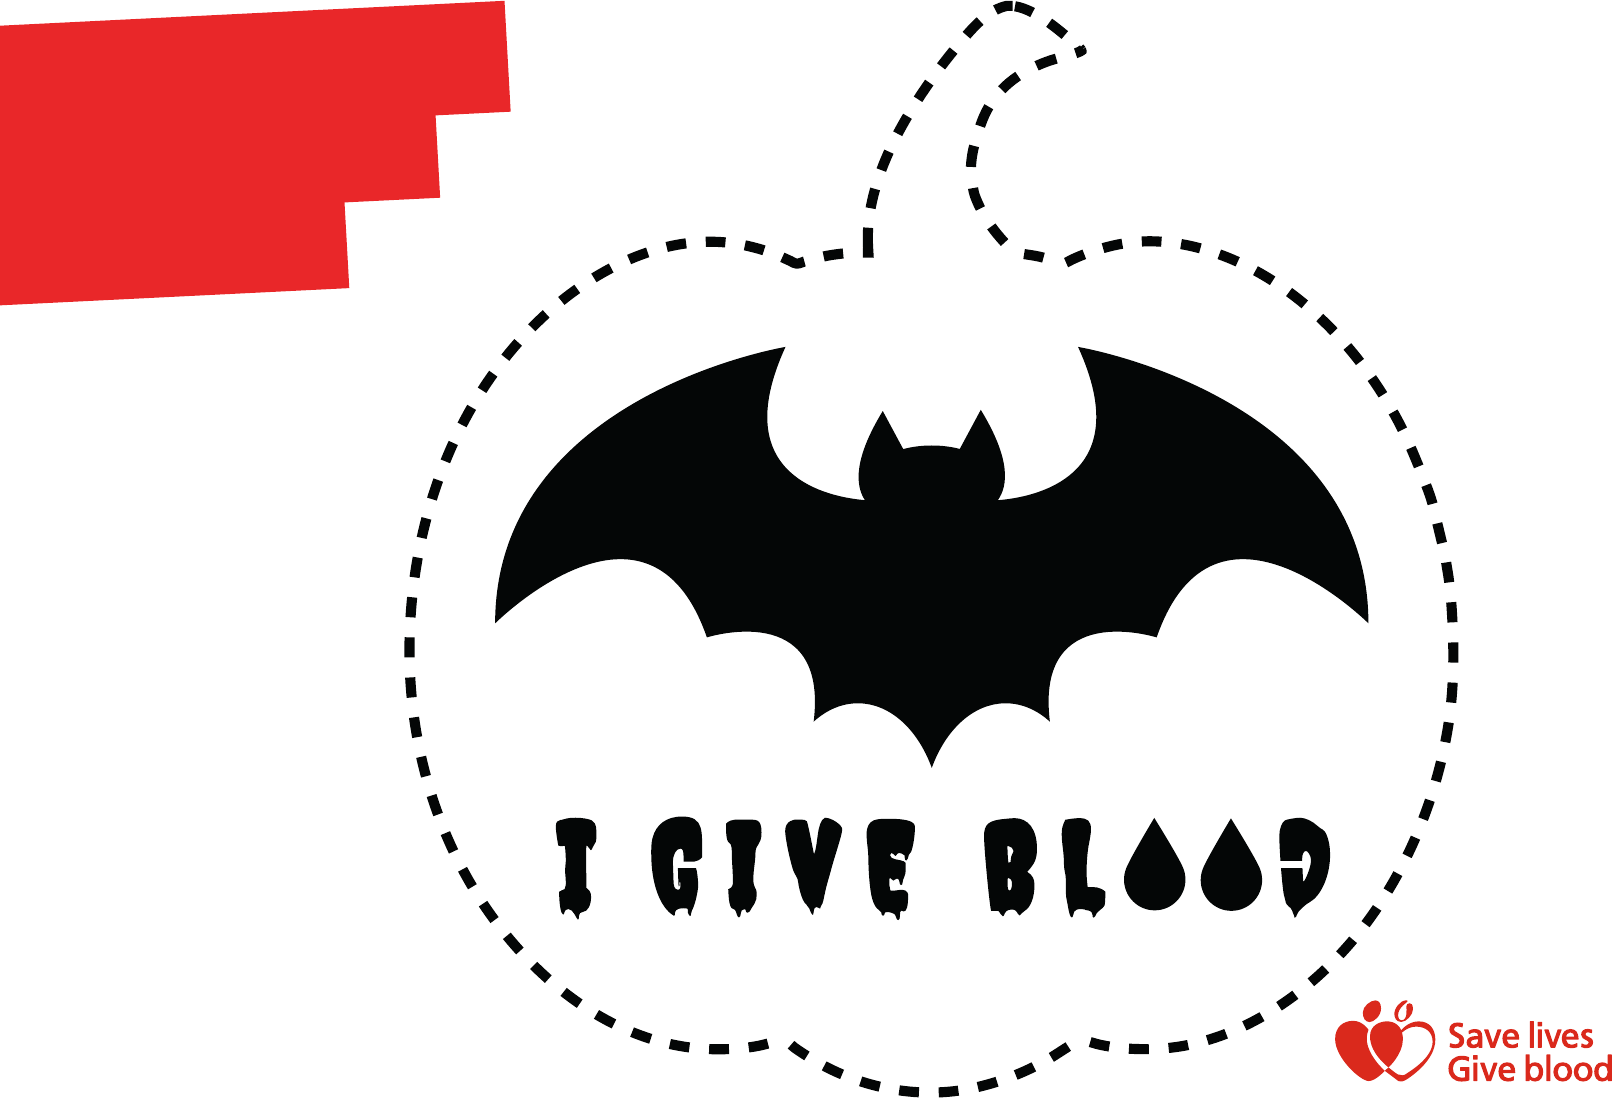
Halloween
pumpkin
stencil

Remember to tag us @GiveBloodNHS
and use the hashtag #DonorPumpkin
Halloween
pumpkin
stencil

Download, print and cut your own Halloween pumpkin stencil
1. Before you start, if you’re under 16 then please get an adult to help you /
supervise with anything involving knives, carving tools, push pins, forks, darts
and matches or lighters.
2. Prepare your pumpkin. Wash or wipe it down so you have a clean, smooth
surface to work with.
3. Cut a lid in your pumpkin, using a serrated knife or the largest serrated
tool in a pumpkin carving kit.
- Draw a circle with with a roughly 2-inch (5.1 cm) radius from the stem
with a washable marker, with a tab/stalk/rectangle at the edge of the
circle. Tilt the blade at a 45-degree angle toward the stem and push it
into the pumpkin. Saw along your outline with the knife until you can
pull the lid off.
- Cutting at an angle prevents the lid from falling inside of your pumpkin.
- The tab/stalk/rectangle means you always put the lid back in the right
place.
- Make sure your hand can easily fit inside the hole so you’re able to
scoop out the seeds.
4. Scoop the seeds and pulp out of the pumpkin with a spoon. Start by
pulling out as much of the pulp and seeds as you can by hand and put them
in a large bowl. Then, scrape the inside walls of the pumpkin with any large
stiff spoon, ice cream scoop, or scraper from a carving kit. Keep scooping
out the pulp until the pumpkin is about 1-2 inches (2.5-5.1 cm) thick. You
don’t want to go too thin as it weakens the wall of the pumpkin. (You can
keep the seeds and cook them as a healthy snack - there are lots of recipes
online.)
5. Print and cut your stencil. Our printable pumpkin carving template is in
black and white so when you print a stencil, you should cut the black part
out. You might also want to add some scores around the paper to help give
it extra flexibility when placing the design around the pumpkin.
6. Attach the stencil with tape such as masking tape.
7. Trace your design. Use a marker pen to trace around the stencil and draw
on the pumpkin (if you cut the stencil out) or use a pin push, fork or even a
dart to poke holes every 0.5cm or so along the outline of the stencil to use
as a reference for your design. When you take the stencil off, all you have to
do is connect the dots on the design.
8. Mark your design (optional). You might also find it eaiser drawing the
outline in marker pen to connect the dots useful. Some people also find it
easier to draw an X in the parts you’re removing as it can get complicated!
9. Carve your design. Use your carving tool or knife to carve out the parts you
have drawn. If you accidentally cut any parts off, you can use a toothpick
to reattach the part back to the pumpkin. Don’t worry about cutting these
designs perfectly, it’s all about having fun.
10. Insert your light source. Put in tea lights or battery-powered lamps to light
up your creation.
11. Place your pumpkin in your window or outside your front door to show
your support for blood and organ donation.
12. Share your handiwork! Don’t forget to share your photos with us on
social, we can’t wait to see them. Remember to tag us @GiveBloodNHS
and use the hashtag #DonorPumpkin.
Halloween
pumpkin stencil
